
AI Poster Design for Beginners: Your 7-Day Mastery Journey
The thought of creating a professional poster might seem intimidating when you have no design experience. You might look at a blank canvas and feel overwhelmed by choices regarding colors, fonts, and layouts. What if you could go from zero to creating stunning posters in just one week? This guide is designed to remove the stress of learning complex software and replace it with the creative power of Artificial Intelligence.
This article provides a structured 7-day learning journey designed specifically for beginners with no design background. By following this path, you'll gain the confidence and skills to create professional-quality posters using advanced AI technology. Whether you are a small business owner or a student, you can start creating immediately without spending months in design school.
Understanding the Fundamentals of AI Poster Design
Before you start clicking buttons, it is essential to understand the logic behind modern AI design. Traditional design requires you to move every pixel yourself, but AI works through collaboration. You provide the vision, and the machine handles the technical execution. This shift allows you to focus on the message rather than the manual labor of drawing shapes or masking images.
What Makes AI Poster Design Different From Traditional Methods
Traditional poster design often involves a steep learning curve with software like Photoshop or Illustrator. You have to learn layers, vectors, and complex filters. In contrast, AI poster design focuses on "generative" technology. Instead of starting with a blank white box, you start with an idea.
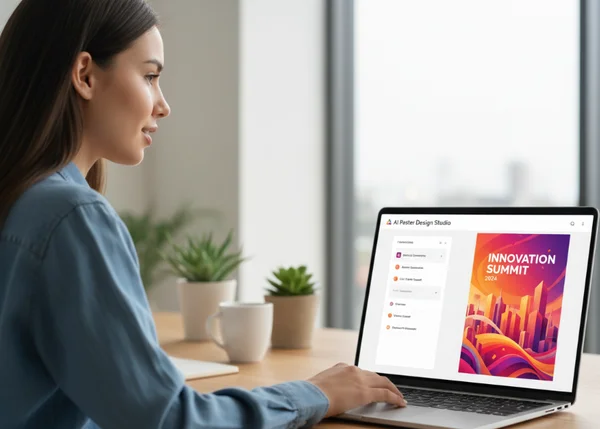
The primary difference is speed and accessibility. With a tool like the ai poster generator, the AI understands your text description and builds a unique composition from scratch. You aren't just editing a template that thousands of others have used; you are co-creating a unique piece of art. This "text-to-image" workflow means that your creative barriers are gone.
Key Design Principles Every Beginner Should Know
Even though the AI does the heavy lifting, knowing a few basic "rules of thumb" will help you guide the tool toward better results. These principles ensure your poster is not just pretty, but also effective at communicating.
- Hierarchy: Decide what the most important part of your poster is. Is it the headline? The date? The AI will help you emphasize these elements through size and placement.
- Contrast: High contrast (like dark text on a light background) makes your poster easy to read from a distance.
- Negative Space: Don't feel the need to fill every inch of the poster. "White space" or empty areas help the viewer’s eyes rest and focus on the main message.
- Color Harmony: Colors evoke emotions. Blue feels professional, while orange feels energetic. The AI can automatically apply these color palettes for you if you specify the mood.
Day 1-2: Mastering the Art of Effective Prompts
The first two days of your journey are about learning to "speak" to the AI. In the world of AI design, the text you type into the tool is called a "prompt." A good prompt is the difference between a generic image and a masterpiece. To get the best results, you need to be descriptive but concise.
Crafting Descriptive Prompts That Get Results
To create a professional poster, your prompt should cover four main areas: the subject, the style, the mood, and the color scheme. Instead of just typing "coffee shop poster," try something more detailed. A more effective prompt would be: "A vintage-style poster for a cozy mountain coffee shop, warm lighting, rustic wood textures, earthy brown and orange tones."
When you use the poster design maker, you can experiment with these details. Think about the specific elements you want to see. Do you want a 3D effect? Do you want it to look like a watercolor painting? Adding words like "minimalist," "photorealistic," or "flat vector" helps the AI understand the visual language you prefer.

Common Prompt Mistakes and How to Avoid Them
Many beginners struggle because their prompts are too vague or too contradictory. One common mistake is using negative words. Instead of saying "no red," it is often better to say "only blue and green." AI sometimes ignores the "no" and focuses on the word "red."
Another mistake is overloading the prompt with too many instructions. If you ask for a "futuristic, retro, Victorian, cyberpunk poster," the AI will get confused and produce a messy result. Stick to one or two consistent styles. If you aren't sure where to start, you can try this tool which offers preset styles to help guide your creative process and avoid common pitfalls.
Day 3-4: Exploring Styles and Creating Visual Impact
Once you understand prompts, it is time to focus on the "look and feel" of your work. Days 3 and 4 are about matching your visual style to your specific goal. A poster for a techno music festival should look very different from a poster for a local farmers' market.
Choosing the Right Style for Your Message
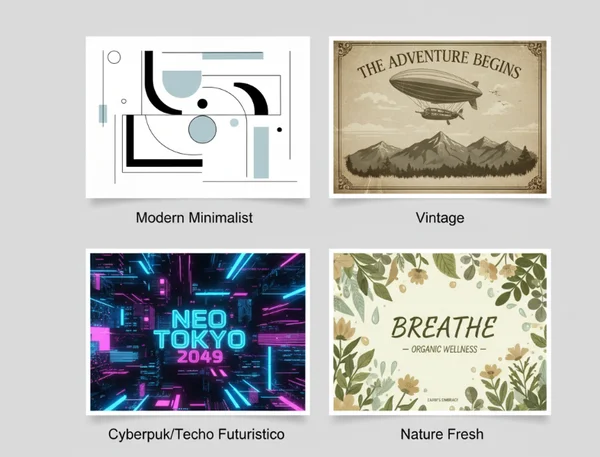
The AI poster design tool offers various preset styles that serve different industries. Choosing the right one is crucial for your brand's voice.
- Modern Minimalist: Best for tech companies, high-end fashion, or corporate events. It uses clean lines and lots of space.
- Vintage: Perfect for heritage brands, "old-school" cafes, or historical documentaries. It adds a sense of nostalgia and trust.
- Cyberpunk/Techno Futuristic: Great for gaming events, music festivals, or innovative startups. It uses neon colors and high-energy visuals.
- Nature Fresh: Ideal for organic products, environmental campaigns, or wellness retreats. It focuses on greens, soft lighting, and organic shapes.
Matching the style to the audience ensures that your message is received correctly before the reader even reads the first word.
Balancing Text and Visual Elements
A common mistake for non-designers is making the text too small or placing it over a busy part of the image. The AI is excellent at generating the background and the main art, but you must ensure the text remains the "hero."
When designing your poster, think about the "Z-pattern." Most people scan a poster starting from the top left, moving to the top right, then down to the bottom left, and finishing at the bottom right. Place your most important information—like the event name or the primary benefit—along this path. If your background is very detailed, use the advanced settings in your poster design tool to add a text overlay or a darkened box behind the words to make them pop.
Day 5-7: Refining and Finalizing Your Professional Poster
The final stage of your mastery journey is about polish. Design is an iterative process, which means you rarely get it perfect on the first try. Use the last few days to experiment with variations and prepare your files for the real world.
Making Adjustments and Iterations
If the AI generates a poster that is "almost" perfect, don't stop there. Change one or two words in your prompt and click "generate" again. Perhaps the colors need to be more intense, or the lighting needs to be brighter. The beauty of an AI poster generator is that it takes only seconds to create a new version.
You can also use advanced settings to adjust the image quality or the "weight" of the prompt. If the AI is being too creative and ignoring your instructions, you can increase the prompt strength. If you want more surprises, lower it. This stage is where you move from being a user to being a "director" of the AI.
Downloading and Preparing for Different Uses
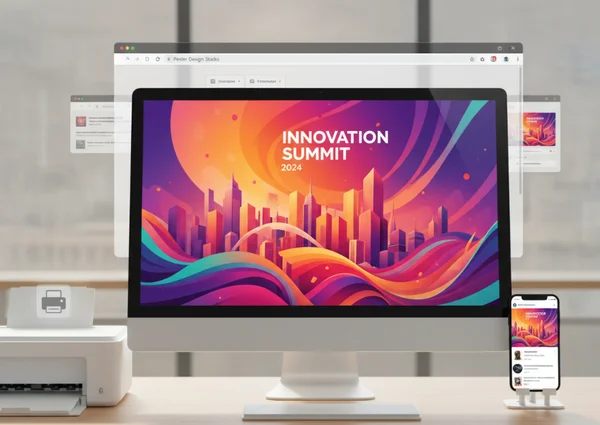
A poster looks different on an iPhone screen than it does on a brick wall. On Day 7, you should finalize your dimensions. If you are printing your poster, you will need a high-resolution file (A3 or A4 size). If you are posting to social media, you might need a square format for Instagram or a vertical format for Stories.
The online poster design platform allows you to select these sizes before you generate. Once you are happy, download the high-resolution version. For physical printing, ensure the colors look bright and the text is large enough to be read from at least three feet away. Congratulations! You have successfully navigated the path from a beginner to a confident creator.
Your Journey from Beginner to Confident Poster Creator
Congratulations on completing your 7-day journey! You've gone from design novice to confident creator. By understanding the basics of AI, mastering the art of the prompt, and learning how to balance styles, you have gained a skill that used to take years to develop.
The world of AI poster design keeps evolving, so there's always something new to learn. Design trends change, and AI technology continues to improve. Continue experimenting with different prompts and styles, and don't be afraid to iterate on your designs.
Ready to make your mark? Whether you're building a brand, promoting a school project, or marketing an event, you now have the tools to stand out. Start creating your first professional poster today with PosterDesign.net's intuitive AI tool!
Frequently Asked Questions About AI Poster Design for Beginners
Do I need any design experience to use AI poster design tools?
No, you do not need any prior design experience. These tools are built specifically for non-designers. The AI handles the complex tasks like color theory, layout, and image creation. Your main job is to describe your vision clearly. You can see for yourself how easy the process is by trying a simple prompt today.
How long does it really take to create a professional-looking poster with AI?
The actual generation of the poster takes only a few seconds. However, for a high-quality "professional" result, you should spend about 5 to 10 minutes refining your prompt and trying a few different styles. Compared to the hours it takes in traditional software, this is a massive time-saver.
What if I'm not happy with the first AI-generated poster?
This is a normal part of the process! Design is about iteration. If you don't like the first result, try changing your prompt or selecting a different style preset. Sometimes adding more detail about the lighting or the "vibe" can completely change the outcome. Most users find their "perfect" design within 3 to 5 attempts.
Can I use AI posters for commercial purposes?
In most cases, yes. Posters generated by AI are often used for marketing, social media, and business promotions. However, you should always check the specific terms of service on the poster generator website to ensure you have the correct rights for your specific use case, especially for large-scale commercial printing.
How do I ensure my AI poster looks unique and not generic?
The best way to ensure uniqueness is to write specific, detailed prompts. Avoid using just one or two words. By adding unique details about your specific event, location, or brand mood, the AI will generate a one-of-a-kind image. Using the advanced settings to tweak colors and styles also helps in creating a custom look that doesn't look like a standard template.